Signing up for ZendWallet through the mobile app is quick and convenient, giving you instant access to your cryptocurrency portfolio on the go.
In this guide, we’ll walk you through the simple steps to sign up using the app so you can start managing and trading your digital assets on the go.
Easy Steps to Sign Up on ZendWallet Using the Mobile App #
Step 1: Download the App: Ensure you have the ZendWallet mobile app.
You can download it from the App Store (iOS) or Google Play Store (Android).
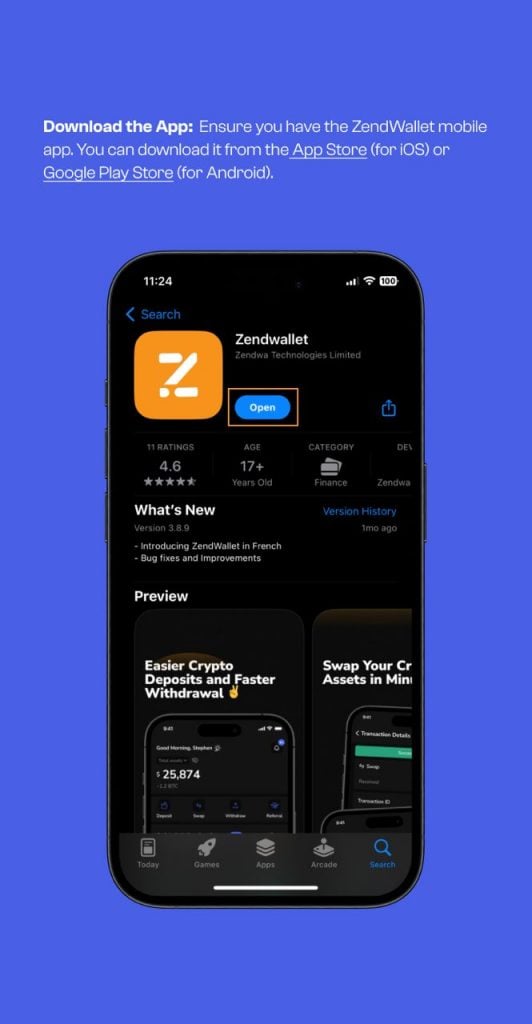
Step 2: Install the App: Once downloaded, install the app on your device.
Step 3: Open the App: Click the ZendWallet icon on your home screen to open the app.
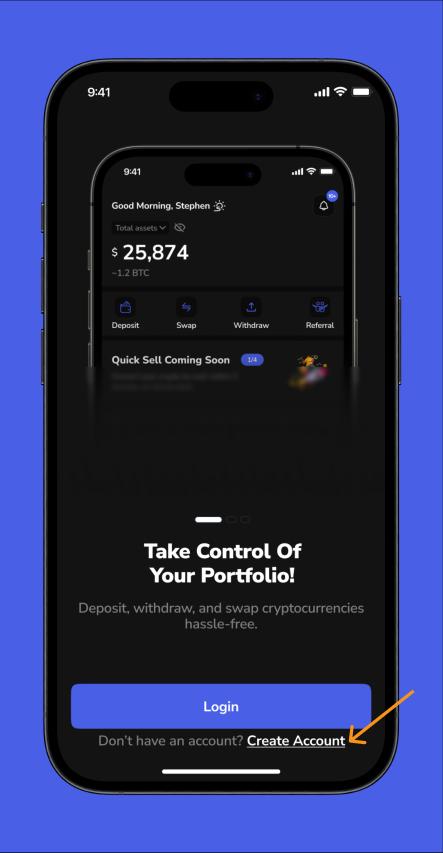
Step 4: Click “Create Account.” You will be taken directly to the login page. Click the “Create Account” button on the app’s main screen.
Step 5: Fill Out the Form: You will be directed to a registration form where you need to provide the following details:
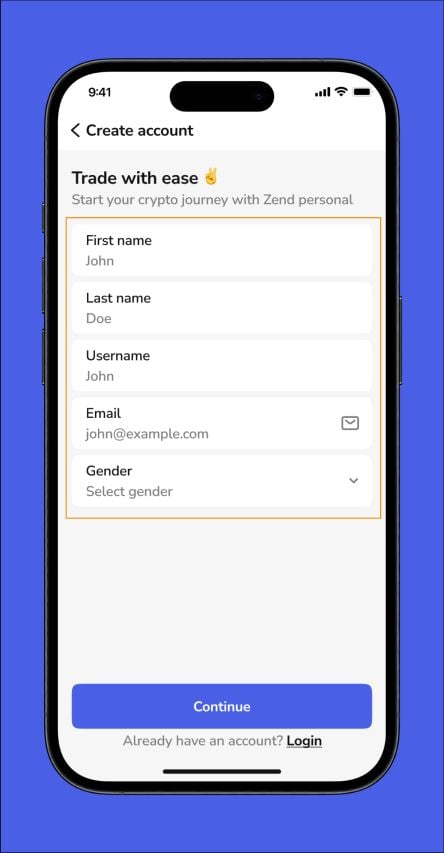
First Name: Provide your given name.
Last Name: Enter your family name or surname.
Username: Select a unique username for your account.
Email Address: Provide a valid email address for verification and notifications.
Gender: Choose your gender from the available options.
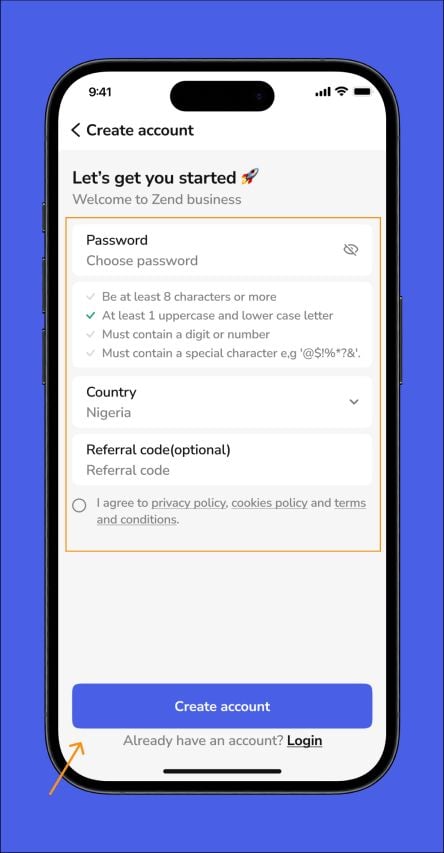
Password: Create a strong password using a combination of capital and lowercase letters, numbers, and special characters.
Avoid using easy-to-guess words like “password” or your name. Instead, use something more complex, such as “Spanish! 123’’.
Country: Select your country from the dropdown menu.
Referral Code (Optional): If you have a referral code, you can enter it; this step is optional.
Step 6: Submit Your Details: Ensure all required fields are filled out accurately before submitting the form.
Step 7: Verify Your Email: After submitting your details, check your email inbox for a verification message from ZendWallet.
Click the link in the email to verify your address and activate your account.
Step 8: Login: Log in using your email and password once your email is verified.
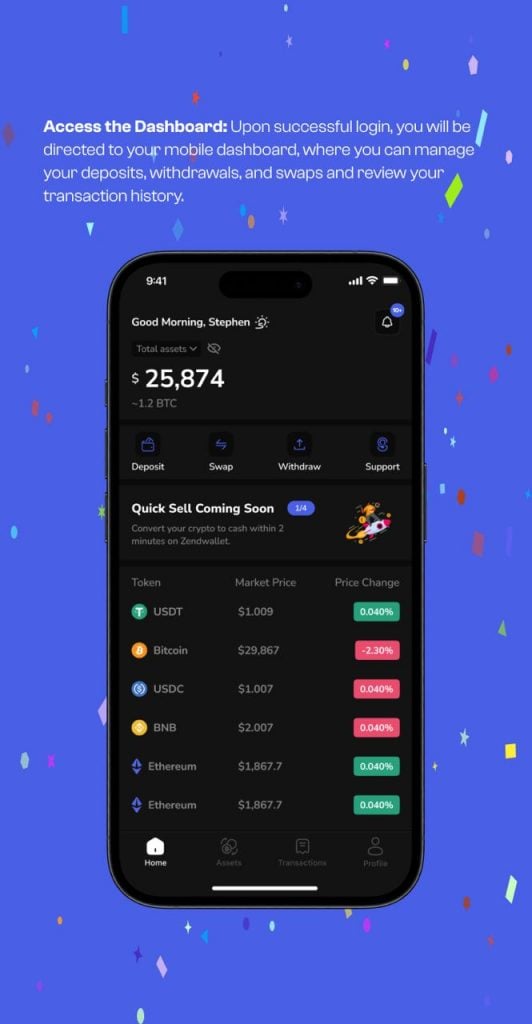
Step 9: Access Your Dashboard: Update your profile information as needed, and you’ll be ready to start managing your cryptocurrency with ZendWallet.
Recommended Article: How to Complete KYC Verification on ZendWallet


